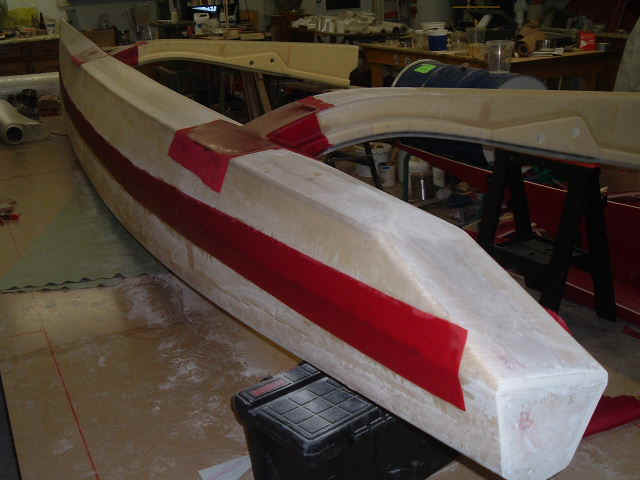
I now have a complete float / beam assembly completed, including all fiberglass work, all bushings for the folding system and fairing is about 50% completed. I will wait for summer to get this outdoors and do the final filling and sanding.
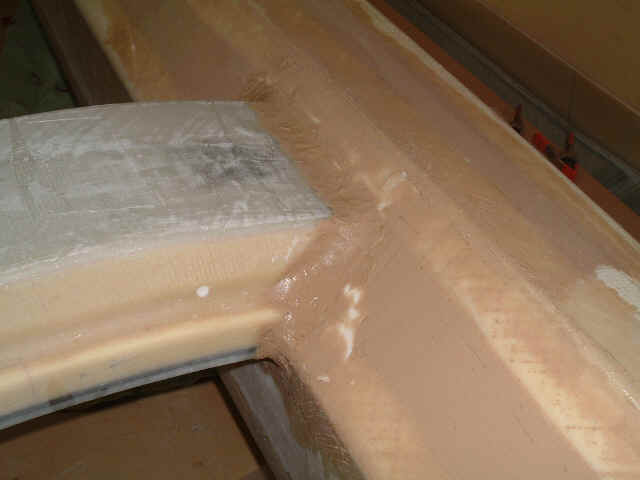
Making large putty fillets around beam joints. This is difficult to make properly in one shot. I waited for the mud to gel a little then reshaped it with my fingers:
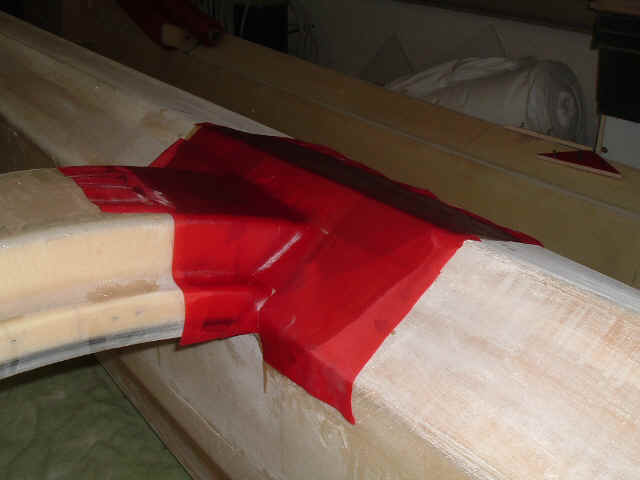
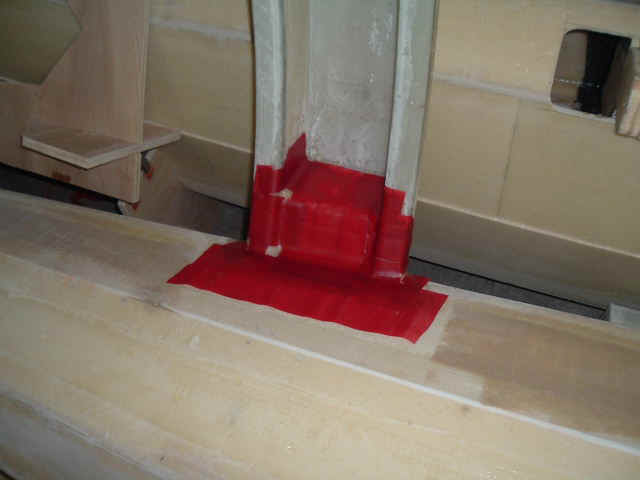
Taping over the large fillets and using peel ply as much as possible:
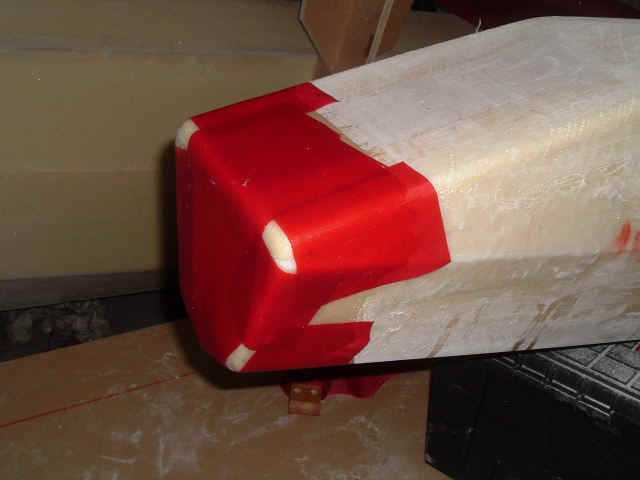
Taping transom. This shape of transom is my own. I decided not to follow the plans for numerous reasons. I like the results. I know that for ultimate speed sharp corners are best at the lower transom edge but this is imposible to tape. I may create a sharp trailing edge later with high density putty, before painting:
Peel ply on transom tapes:
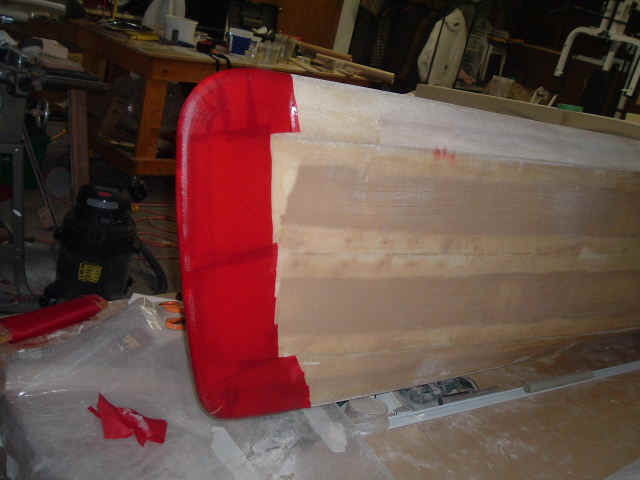
Peel ply on bow tapes:
Bow all "mud up". En francais on dit "tartinée" !!!:
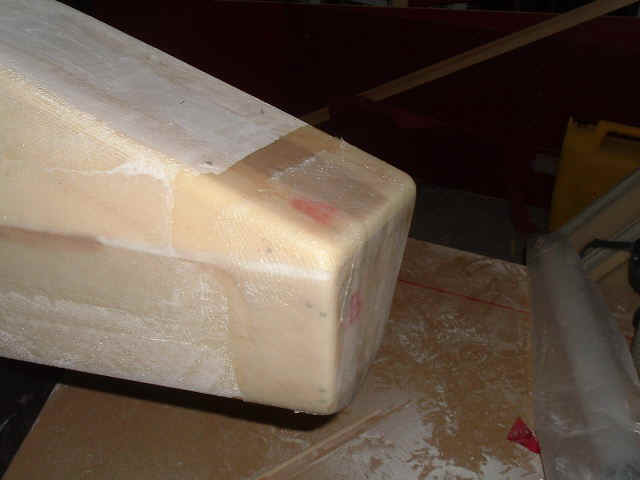
Peel ply around lower beam fiberglass tape job. It is tedious to apply the peel ply properly but it is better than sanding later:
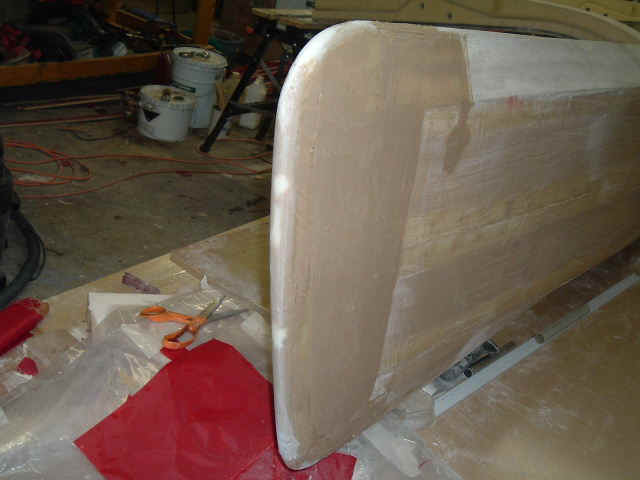
Thin bow:
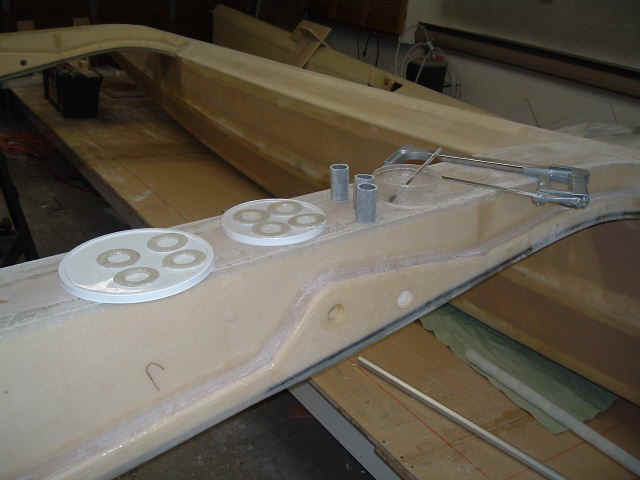
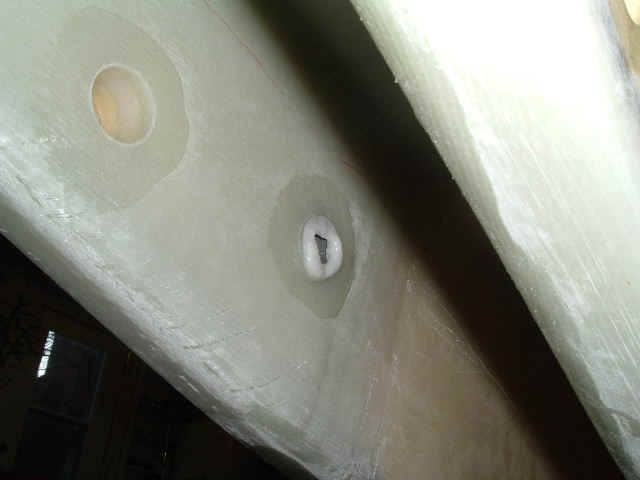
Preparing the parts for folding system bushing installation. All parts are fiberglass. I used aluminum powder as a filler in the epoxy mixed to make the bushings. This will give ultraviolet protection for times when the pivot pins are not installed. Color is cool also!:
Sighting through one bushing hole to check alignment (for fun...):

Epoxy mixture oozing out around the fiberglass "donut" that I am using during bushing installation. This makes the bushing look better and re-inforce the outside edge that seemed fragile as there is no high density filler at that location:
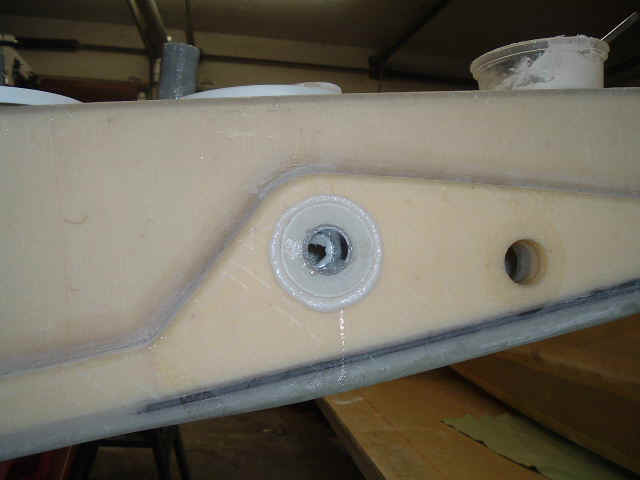
Looking from under the beam, epoxy mixture oozing out around the fiberglass bushing:
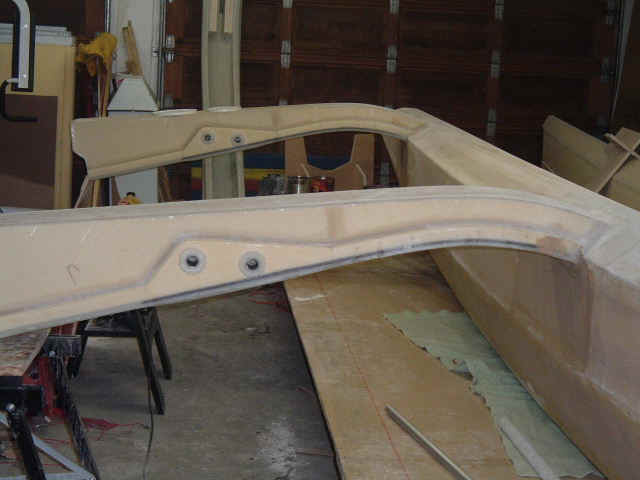
All 8 bushings in place. All epoxy work is done at this point, only final fairing is required. OUF!:
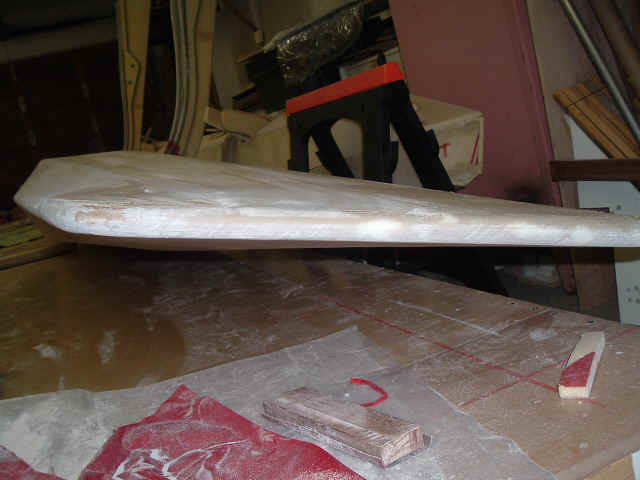
Drawing a waterline for the float. With my flat table this is a piece of cake but I am not happy with the shape I obtained so I will give it a little more tought before I make it permanent. Epoxy filled with aluminum powder will be used below the line, no paint, no antifouling: