Activities:
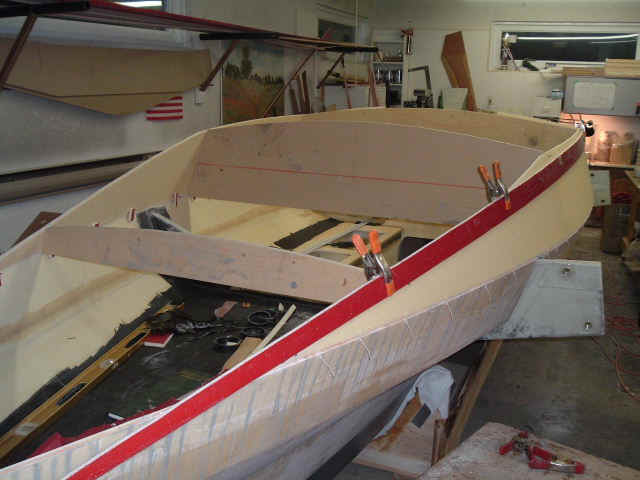
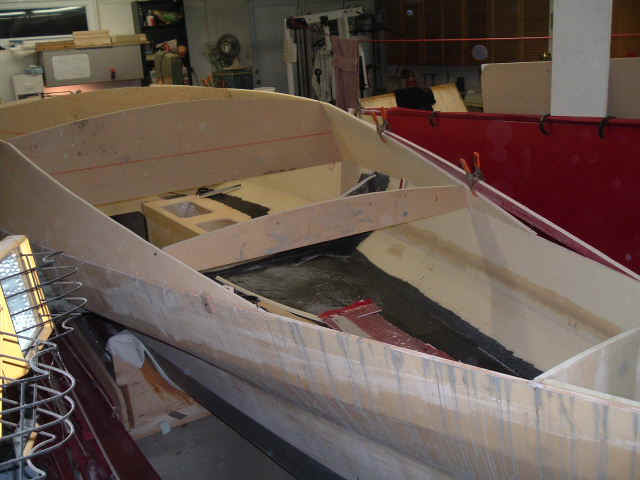
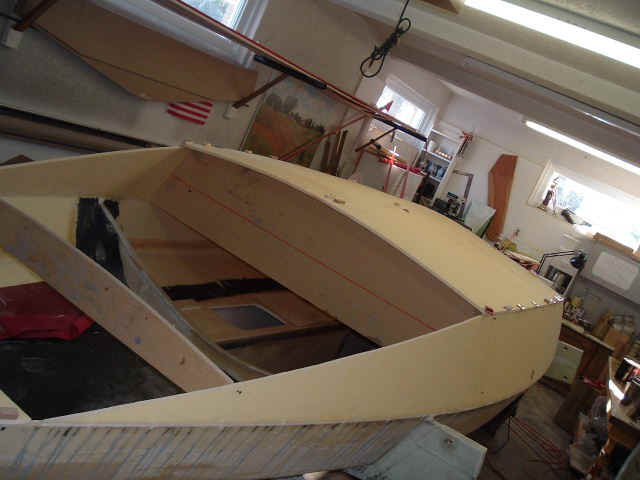
Cabin sides attached in place with cable ties. One side is glassed on both sides, the other only on one side. This is due to my panel nesting and it also enables to test whether it is easier to glass the second side on the boat or not. Since the cabin side glassed on one side is more flexible than the other I had to use a fairing batten (the red plank) to keep the shape perfect.
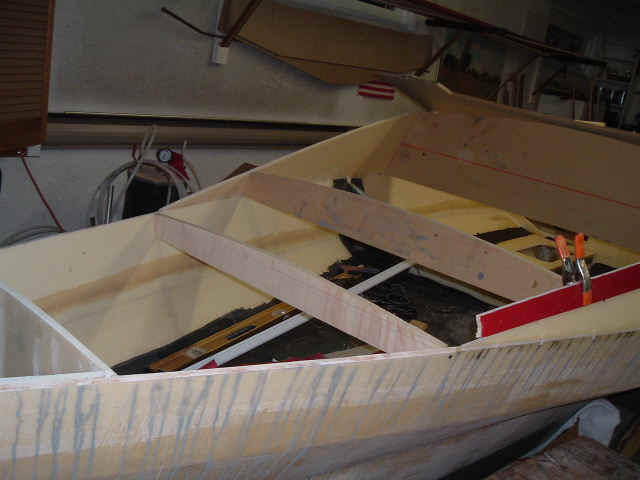
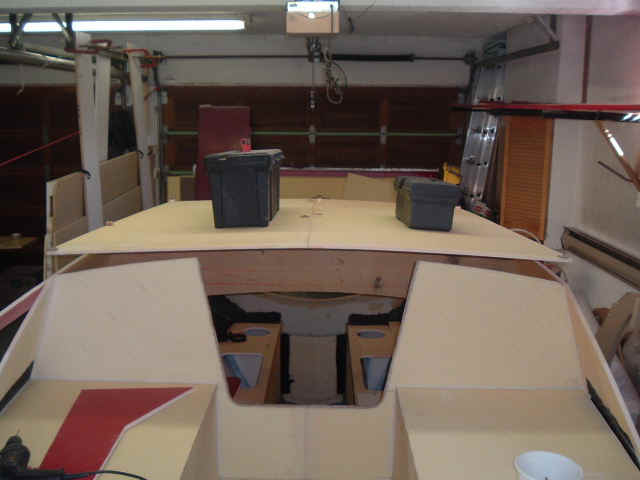
MDF temporary deck formers in place. I had to custom fit them to the boat, the drawing dimensions did not fit very well. Also one former was way too close to the cockpit bulkhead so I relocated it closer to the center of the cabin top.
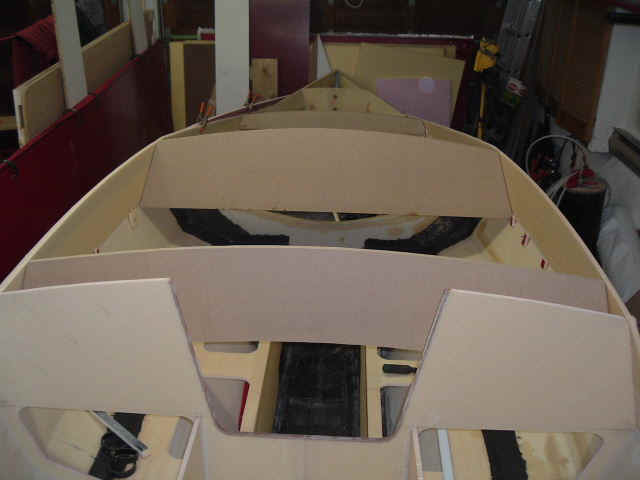

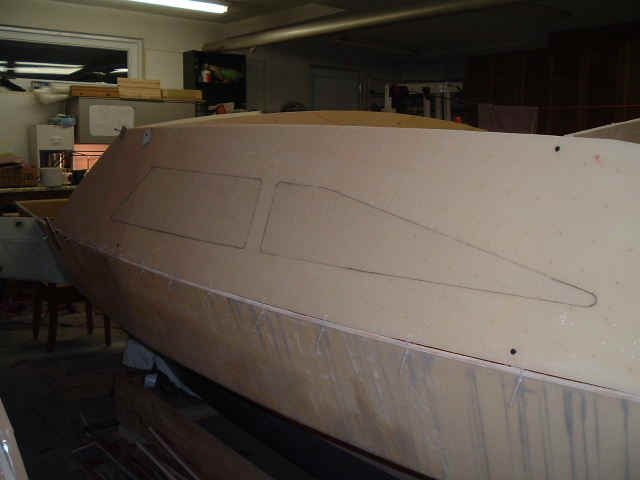
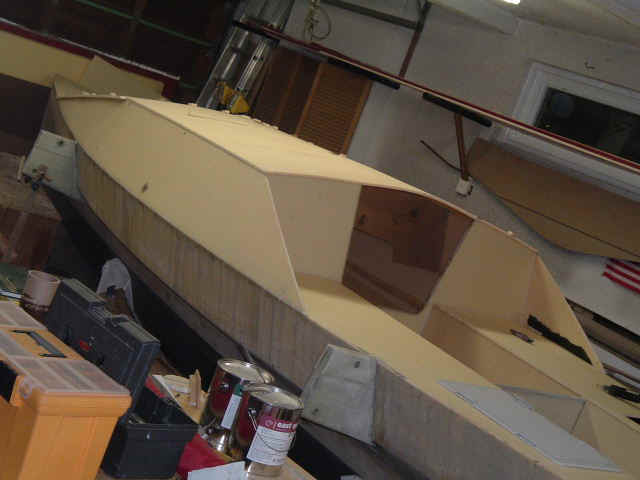
Cabin windows outline. This is exactly as per the drawings and I will keep this shape. However I changed the aft portion of the cabin sides. I shortened it by removing the low aft section. I checked with Ray Kendrick to confirm this was acceptable. I thought it was too low for back support and was a "hazard" when stepping onto the trampolines. On my friend's Scarab8 I did not like the original design.
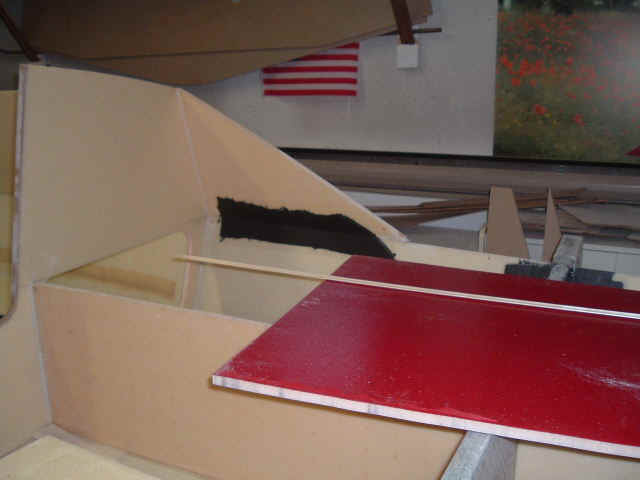
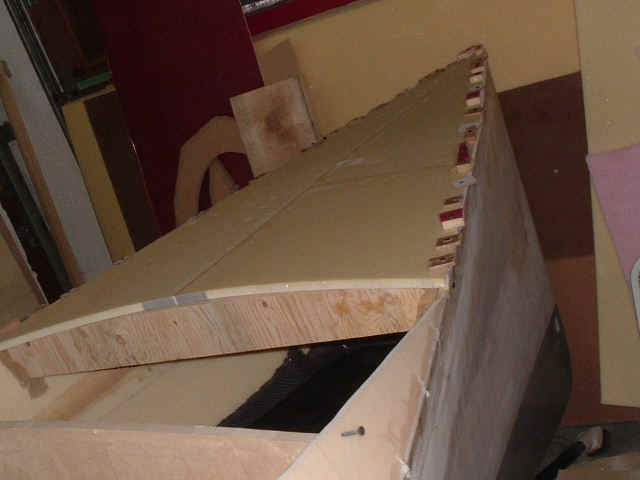
Modified aft portion of cabin sides.
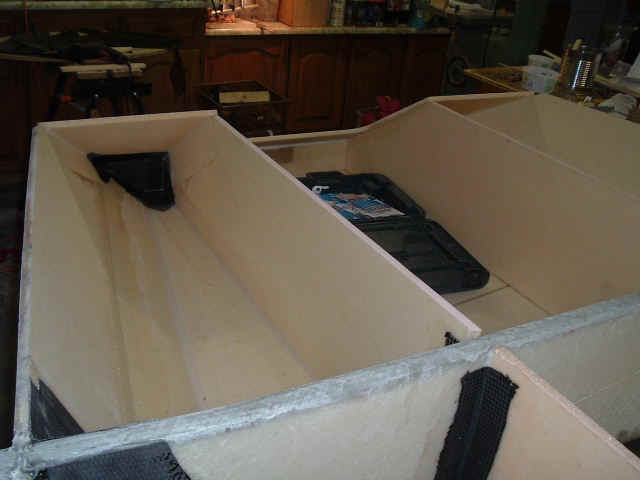
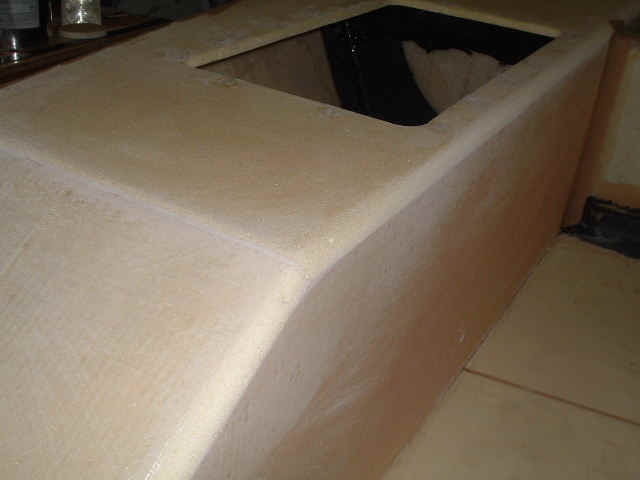
Fitting seat cockpit lockers. I put them on top of the seats instead of the vertical faces to make them more usable. The hatch covers have a mild non-skid surface which is nice to sit on.
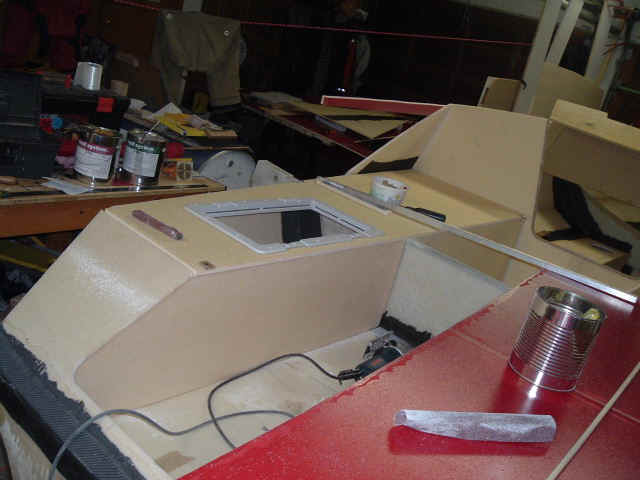
Looking aft under the starboard cockpit seat. I use a lot of carbon fiber tapes to save weight.
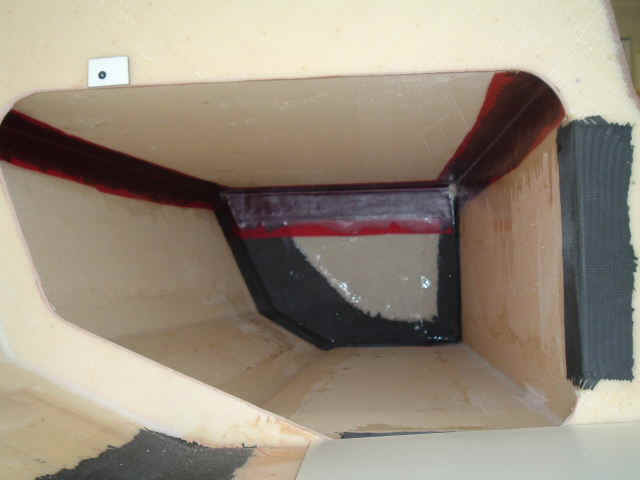
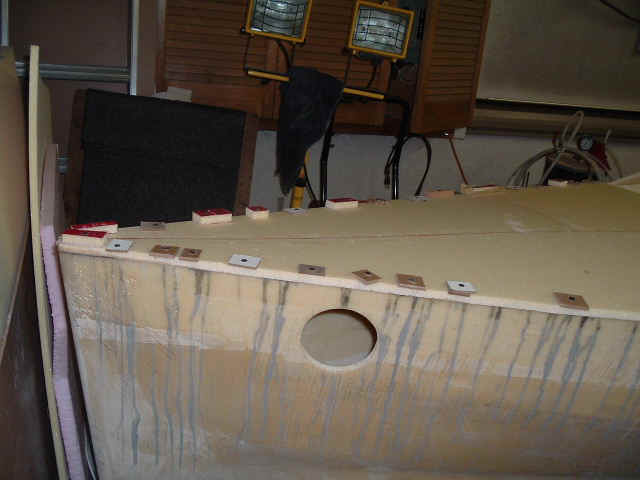
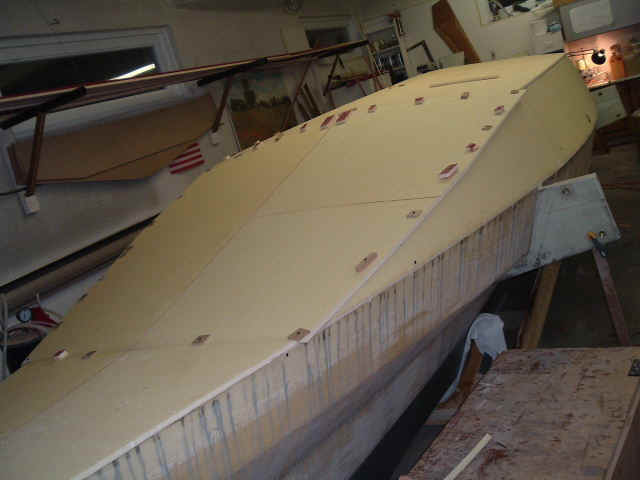
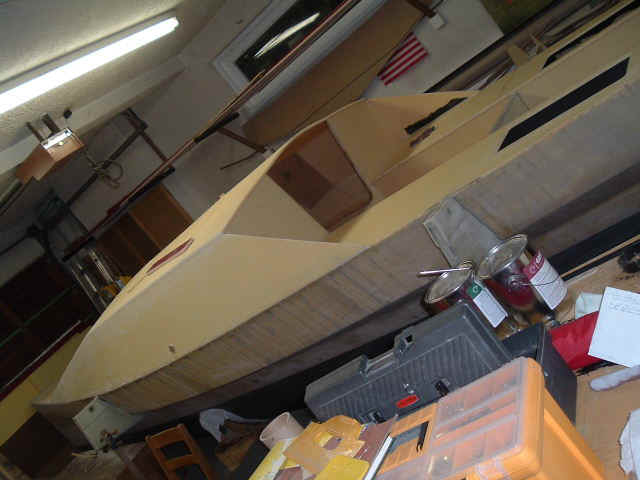
Foredeck in place. The panel was glassed only on one side so it was easy to bend in place. The hole on the hull side is for access to this watertight compartment. I am not using an anchor locker. The hole will be plugged with a watertight inspection cover. I did not put the hole on the deck to keep it clean for the bowsprit (more info later) and to keep a nice uniform anti skid surface.
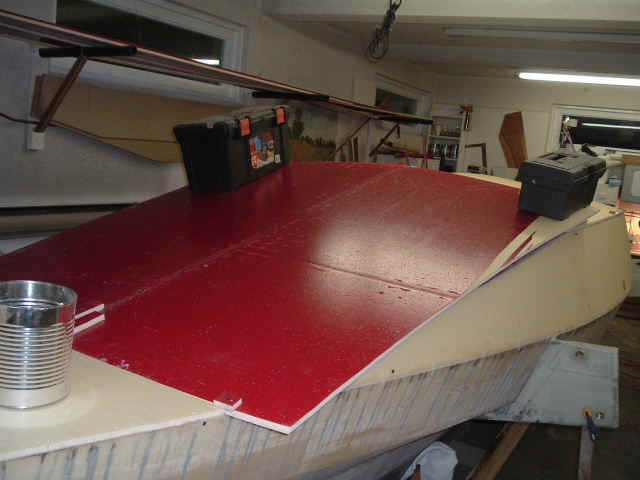
Fairing the cabin top MDF formers with a batten.
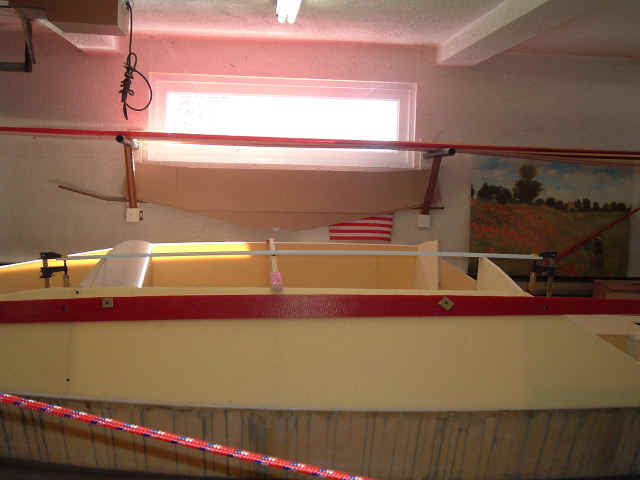
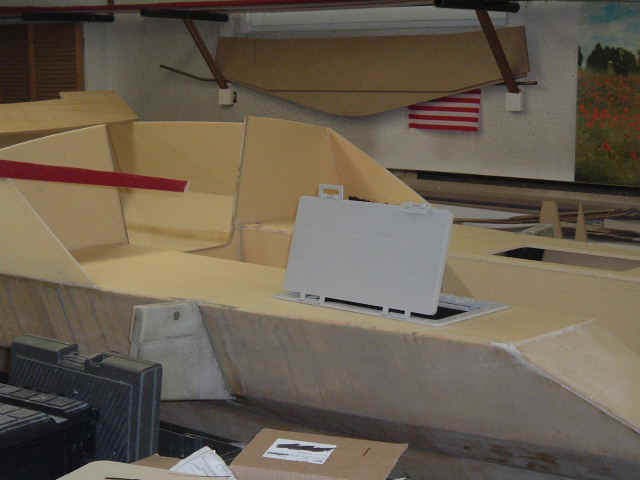
Cabin top in place. Notice the "bubble" where the sliding hatch will be. This will disappear when I build the pop-top.

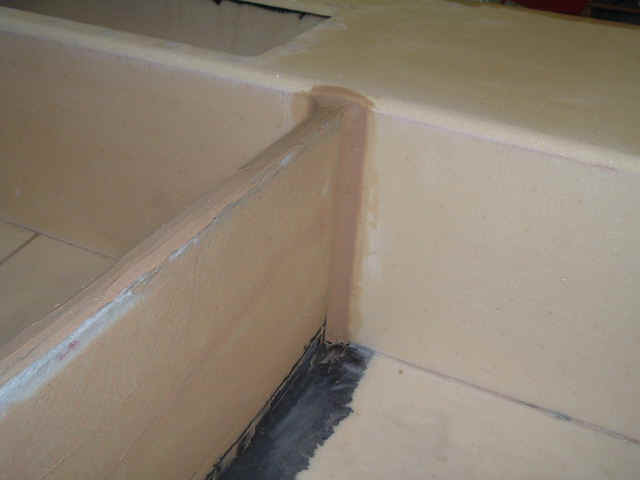
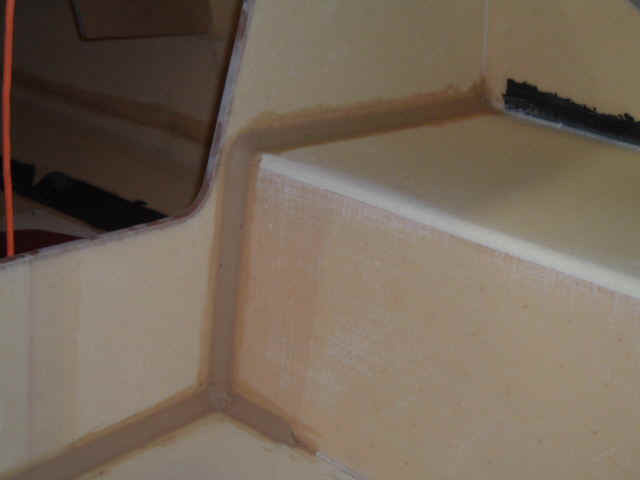
Rounding all corners before glassing can begin.

Rounding the cockpit seat edges.
Making large fillets in the cockpit.