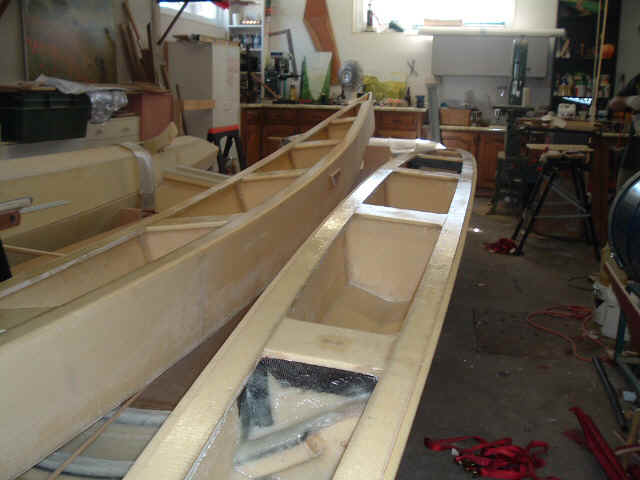
Progress is quite fast now. This phase of the building process is going great.
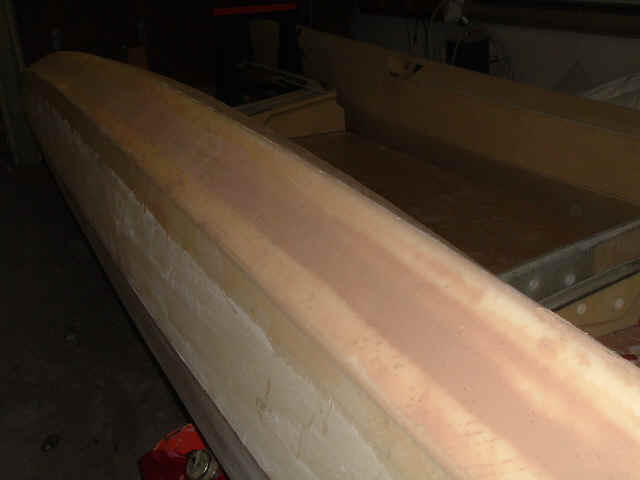
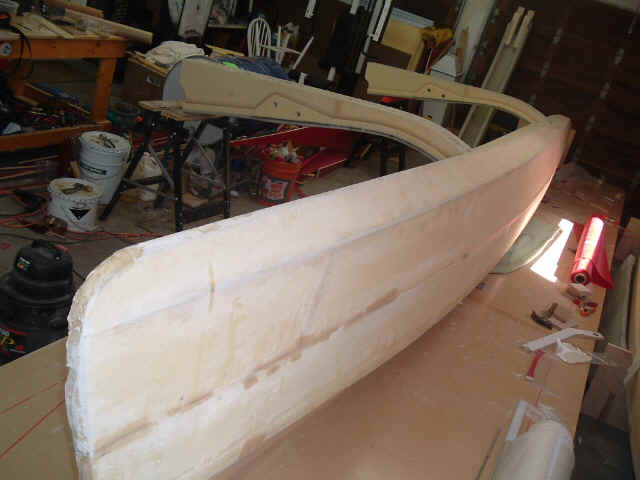
Fairing the floats is a piece of cake. Very little putty is required and the chines are perfect. The stiff foam panels did wonders for the fairness and the only fairing required is because of the external fiberglass tapes. To minimize this, I use peel ply everywhere and it makes a big difference. Once in a while I skip the peel ply, just to see, and I ALWAYS regret it: Surface is rough, full of "shards" and difficult to sand. The tape is also thicker. However this is a lot of trouble: it seems that on any given hull surface at least 2 layers of peel ply were applied at one point or another. It is wastefull. One solution to this is to glass only on side of the flat panels (if they end up stiff enough to garanty a fair assembly) then glass the outside in one shot, using peel ply. Without any temporary frames, it would be impossible to use bare foam sheets, as Louis de Lassus (scarab site) did for his main hull. For my main hull, I think I will make my panels with glass only on one side( inside of hull) and glass the outside of the hull in 2 operations: starboard, port. I checked and the maximum half-girth dimension of the inverted main hull is 58 inches, perfect for my 60 in. E-glass: no seems will be required! I wonder how Ian Farrier will solve the hard chine hull assembly with his F-22. On my new OB650 I found a partial solution to this mess...
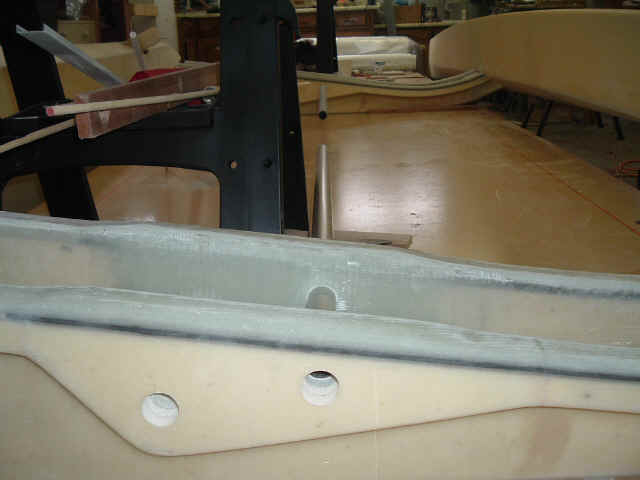
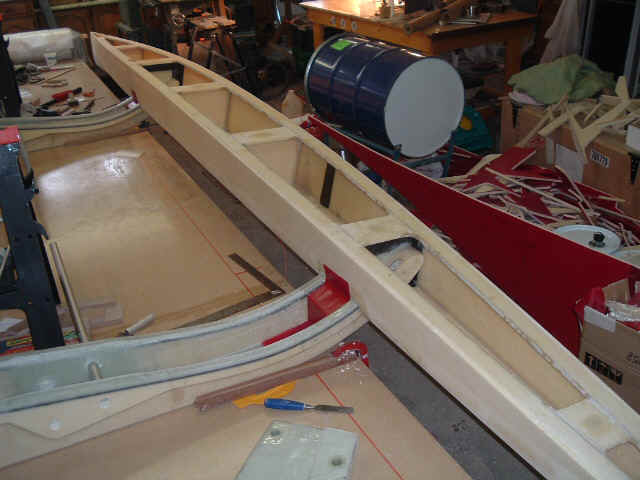
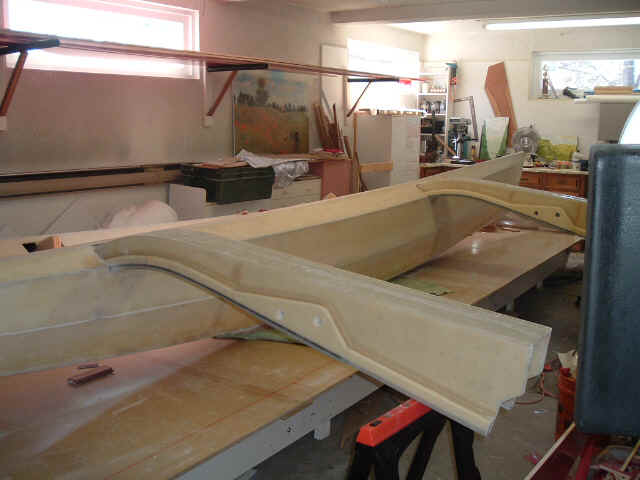
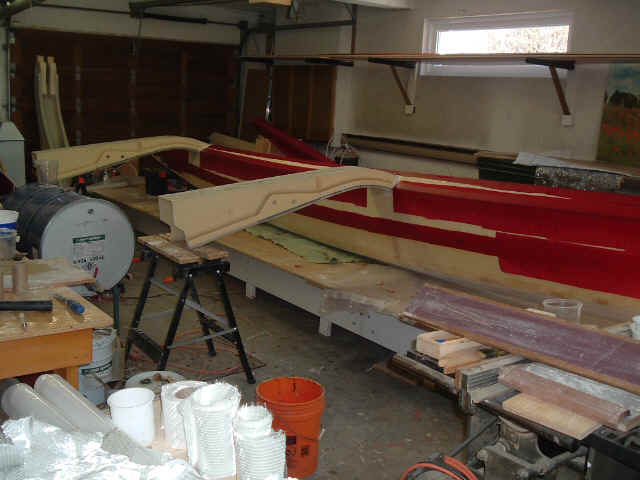
I am using my flat molding table to align the beams before bonding them to the floats:
Wooden dowels inserted in Pilot holes used to position the beams. Works good:
Using long tubes inserted in folding pivot holes used to make sure they line up. I just have to look inside one tube and verify that the other tube is in line:
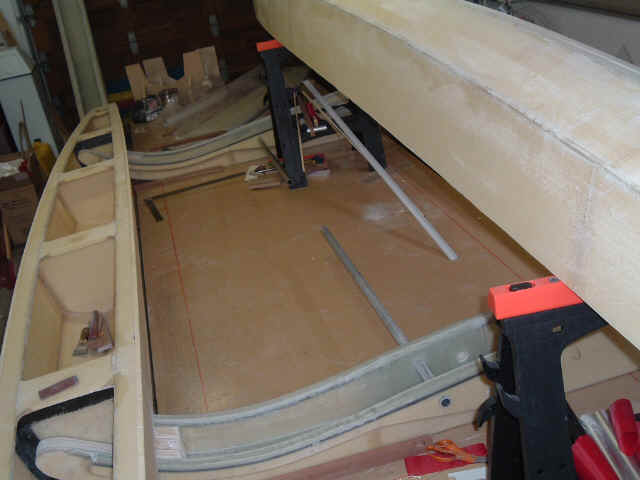
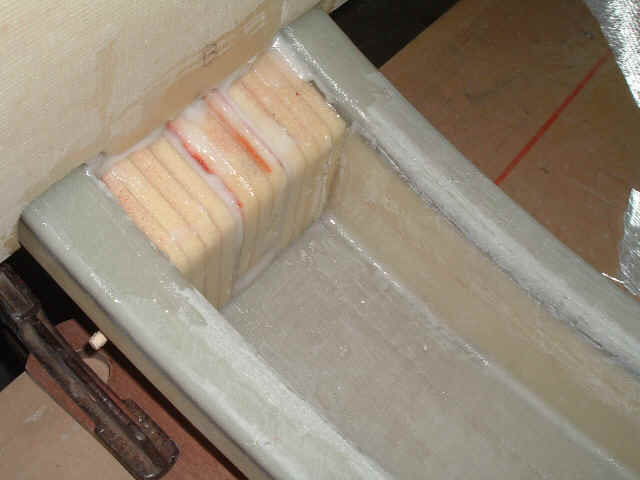
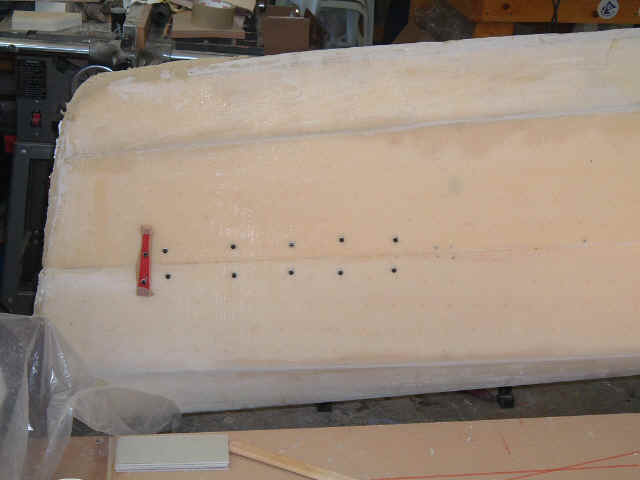
Pumping epoxy putty through injection holes. I used an empty caulking gun cartridge, filled it with "mayo" and pumped away! Works perfect, I did the whole job alone:

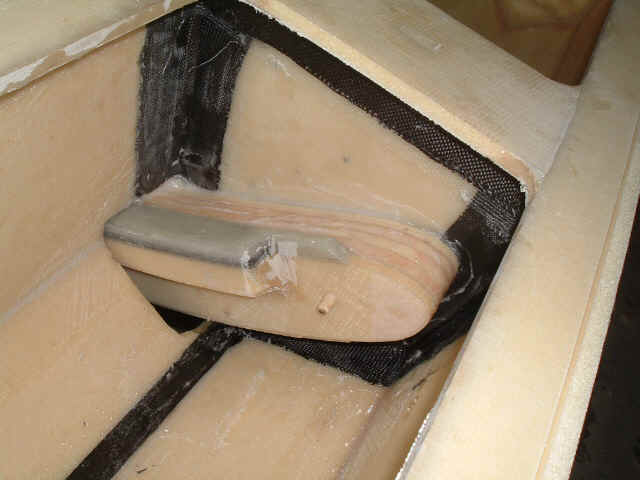
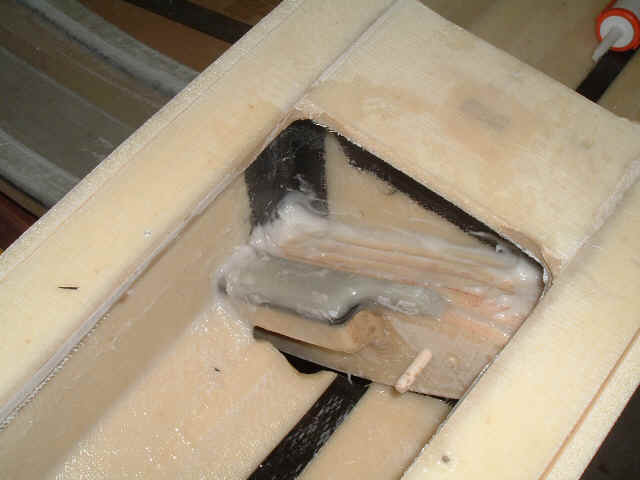
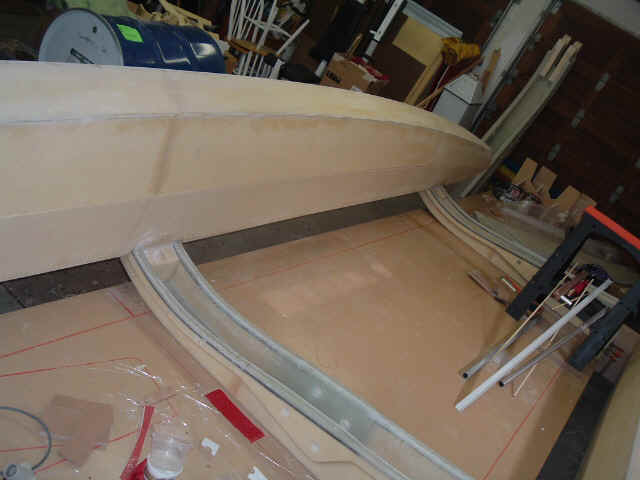
Ouside of joint, under the beams. Perfect alignment:
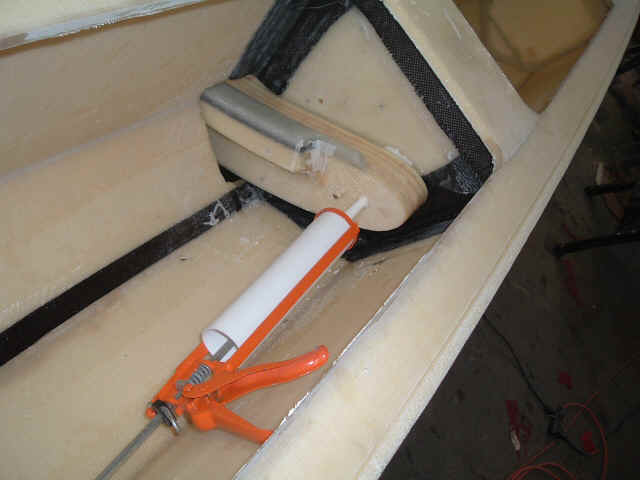
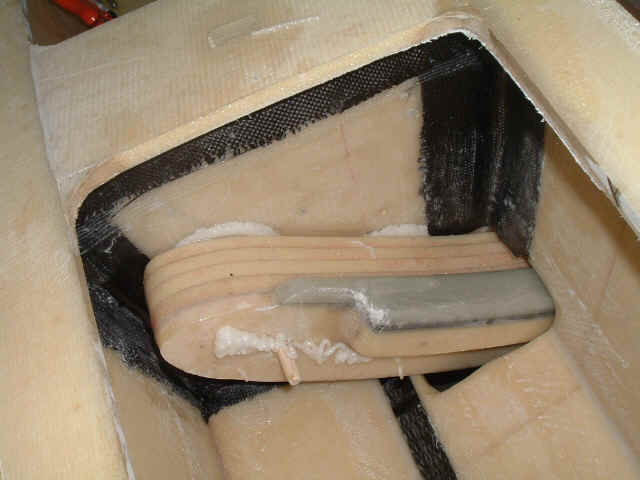
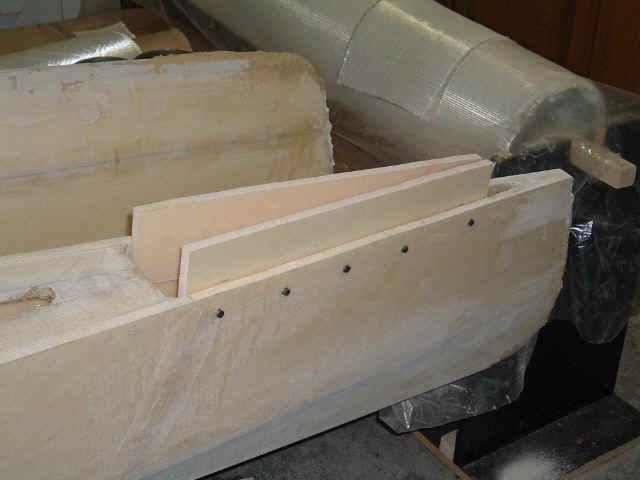
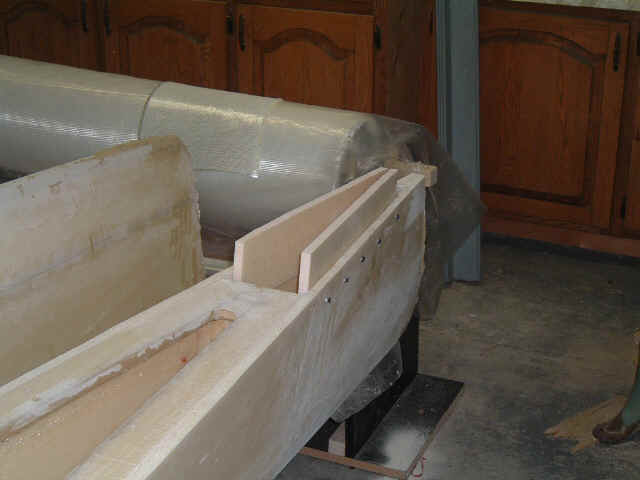
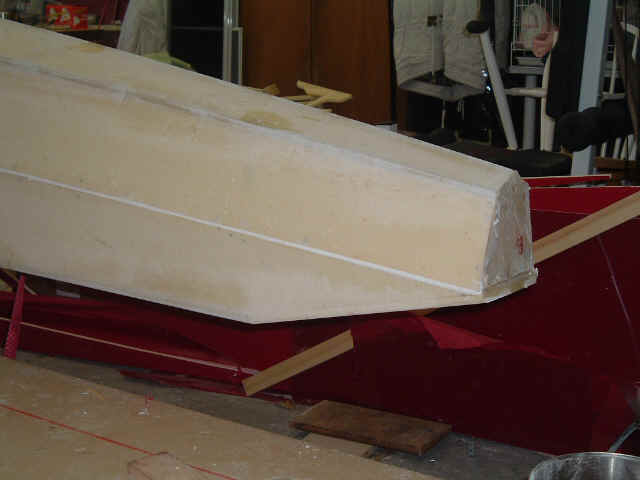
Bow "plates" used to connect float halves at the front, works fine but you have to think carefully about the screwing sequence, otherwise you can strip the screws and god knows what happens inside the float...:
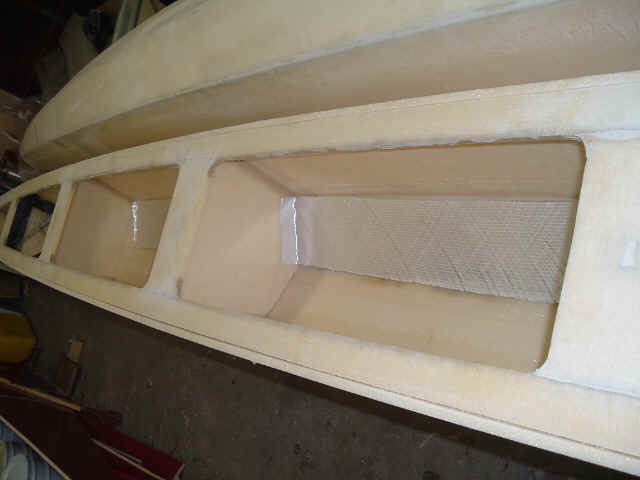
Extra glass to take the loads from the trampoline attachment bolts:
Applying glue to close the float:
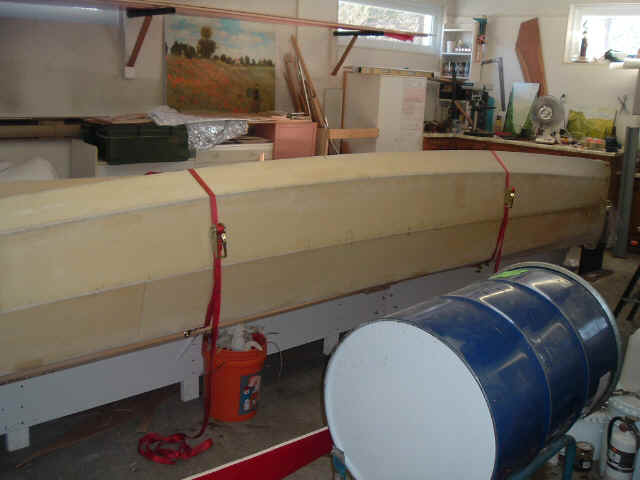
Straping it down! Only 3 straps where required and the fit was impressive:
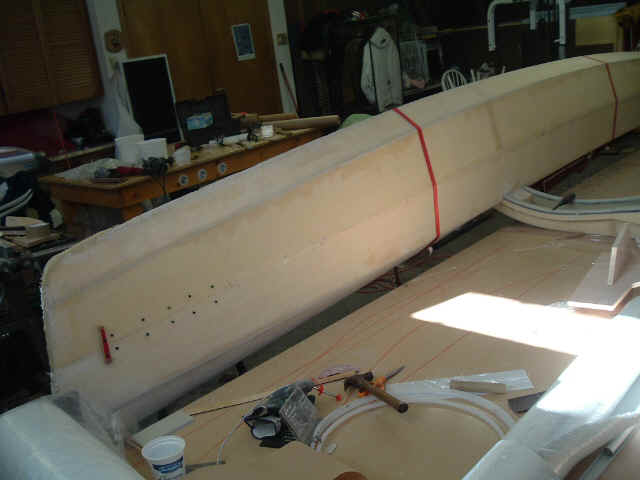

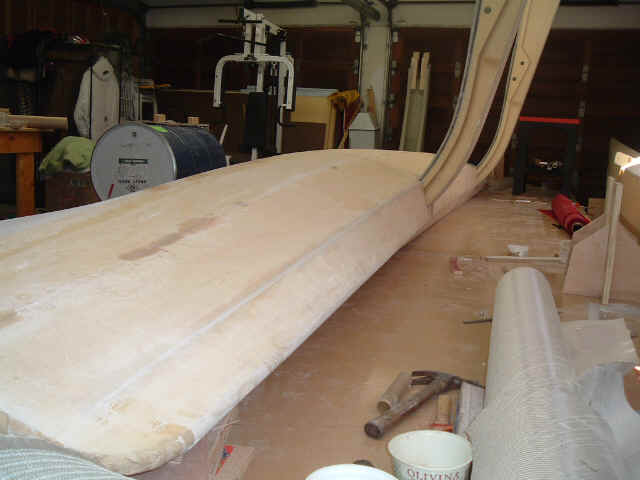
Taping the keel with double bias E-glass:
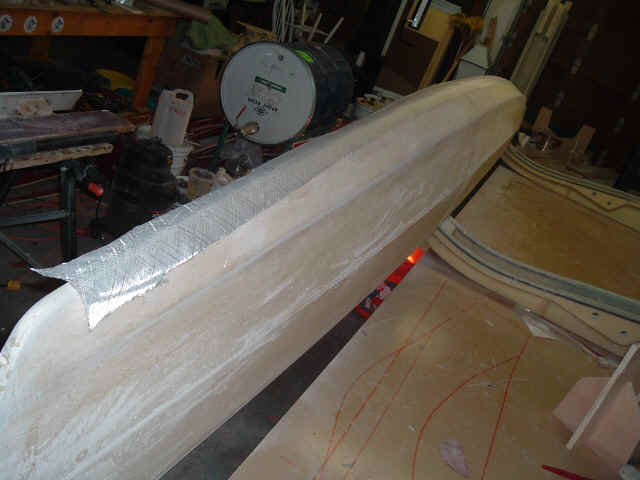

Peel ply everywhere!!!:
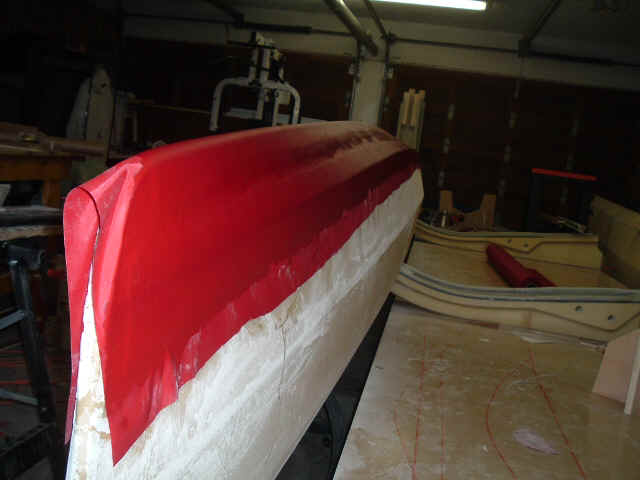
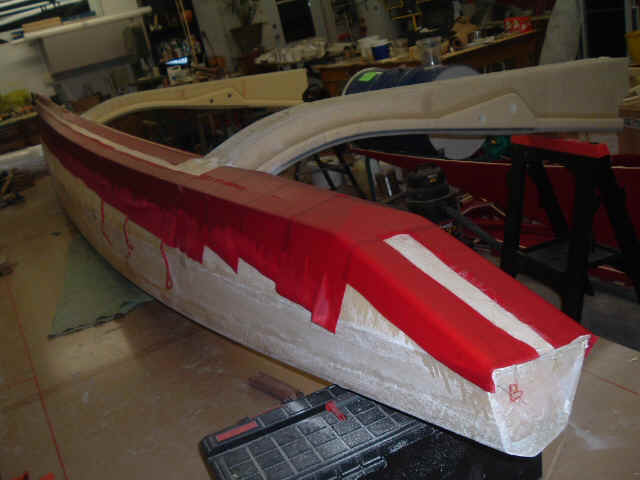
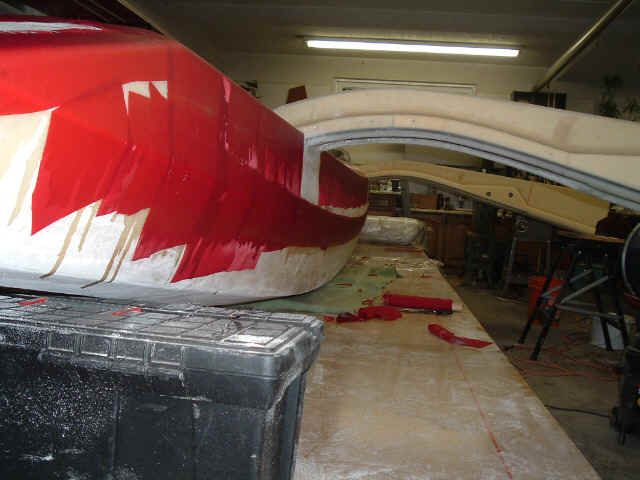
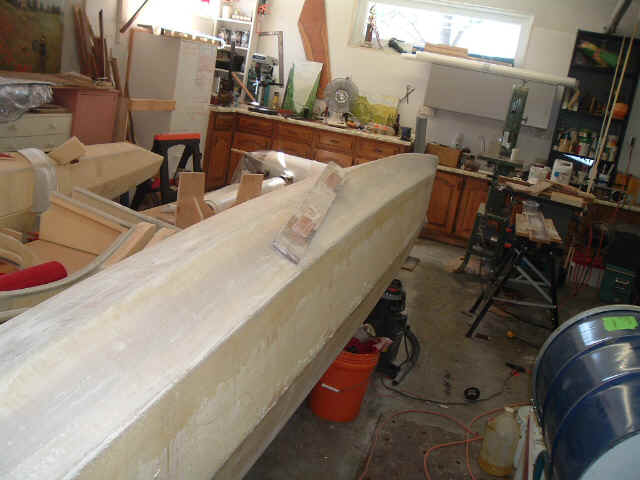
Little fairing putty is required, much much much (much!) less than is required for float assembly (fillets, etc...):
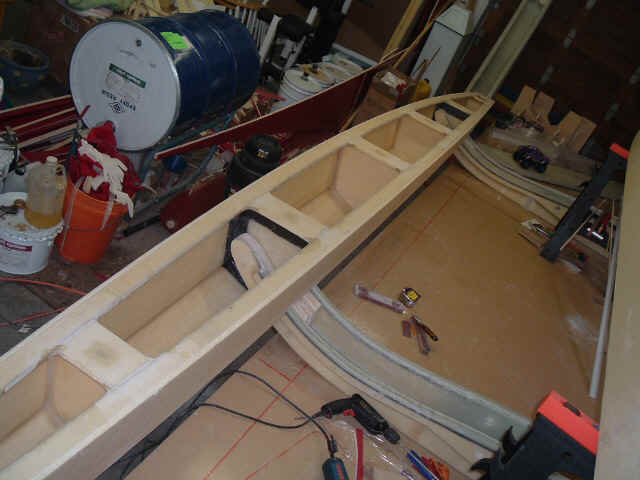
The whole assembly is quite light and I can flip it over alone, but it is BIG and you dont want to drop it!:

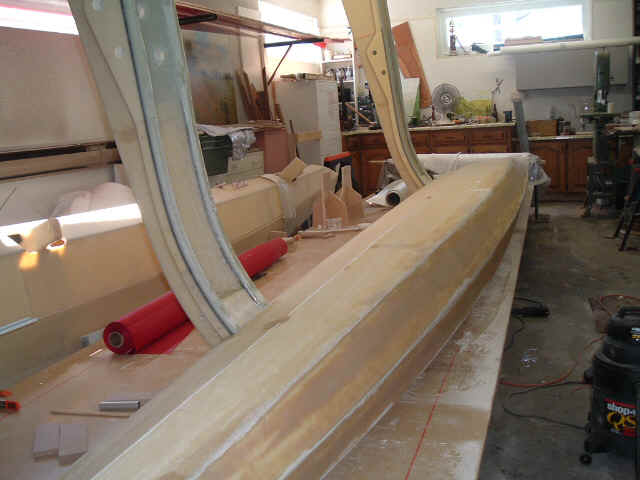
Peel ply everywhere!: