Removing peel ply from hull panels 2 and 3 to allow filletting inside the joint. :
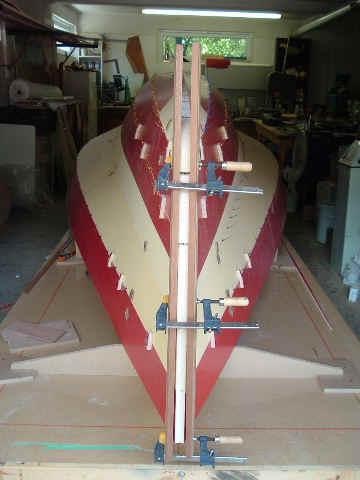
Clamping panels end at the bow. It is easy with the panels glassed only on one side:

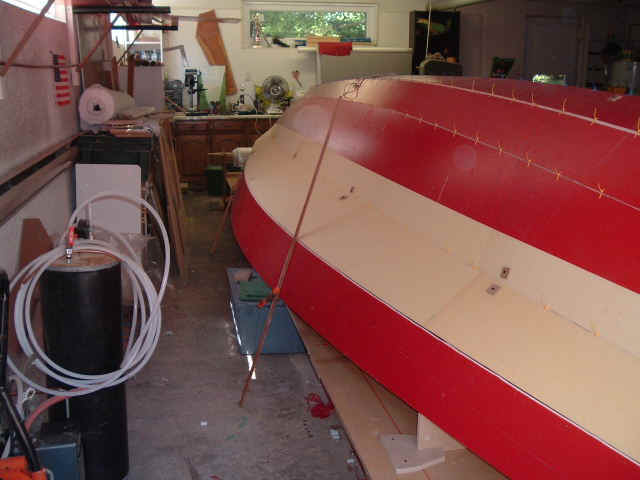
Many cable ties are required to sew everything together. With my "open" temporary frames I was able to crawl inside the boat to feed the ties through the many holes. With panels glassed on one side, ties at every 8" to 12" are required to keep panel alignement:
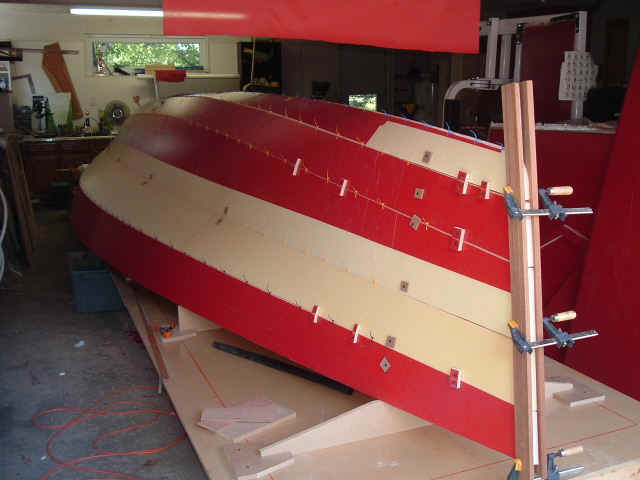
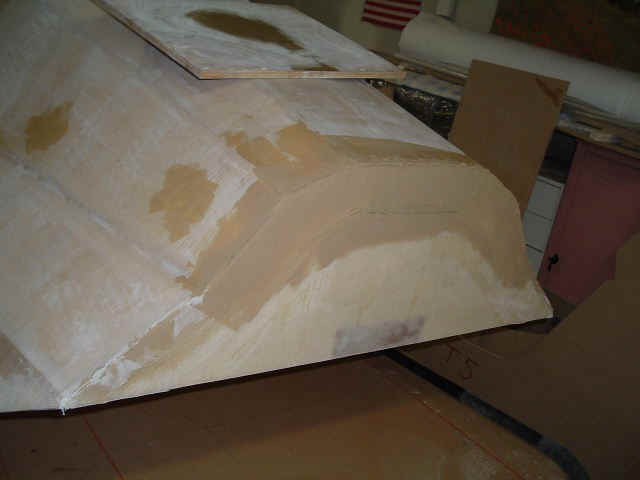
Notice the gaps. This was easily filled with more putty...:
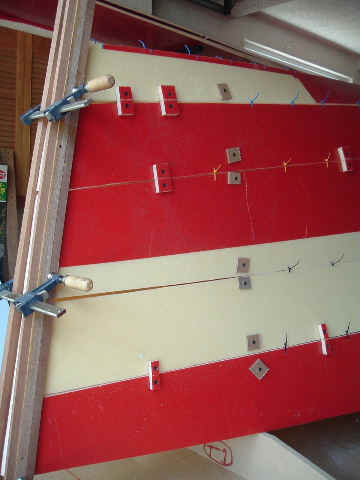
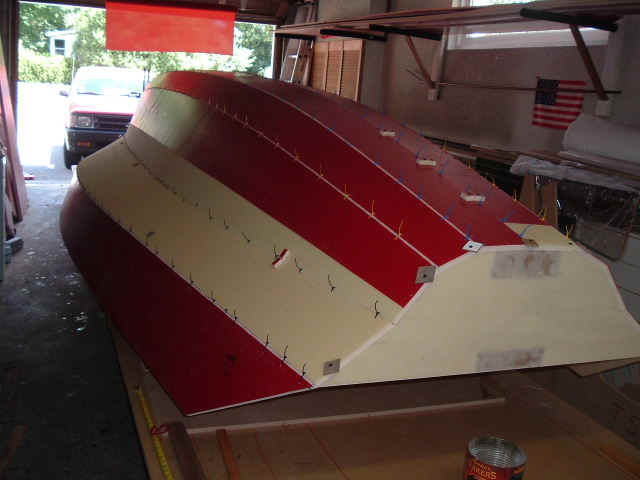
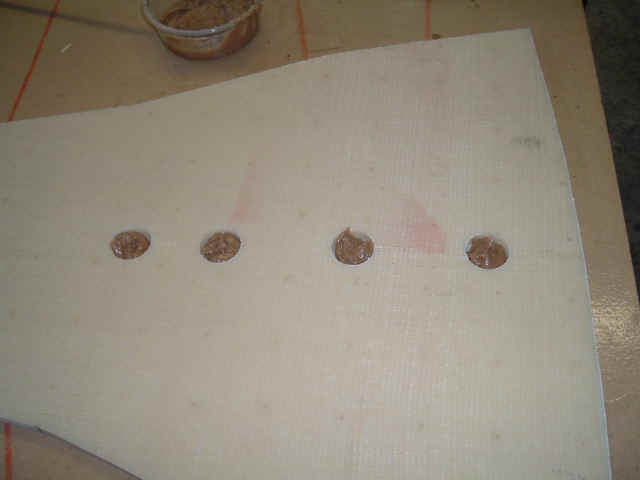
The sqare pads are for the screws going in the temporary frames, the little foam blocks align the chines were required:

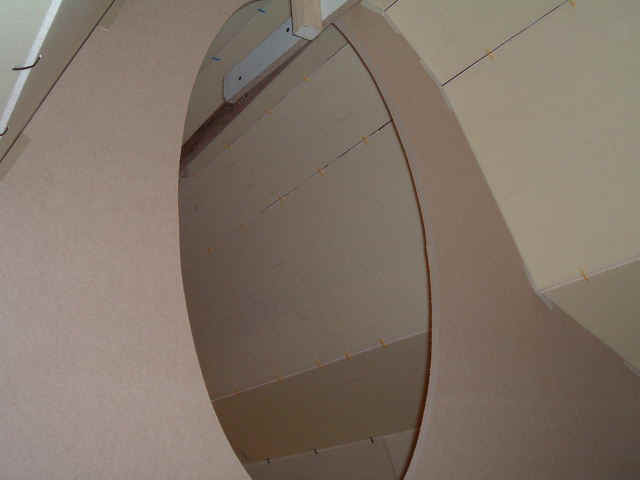
Looking inside the shell:
Working in advance... Making high density inserts for the forestay fitting bolts. I raised the lower bolt hole because it would have interfered with the forward bunk panel:
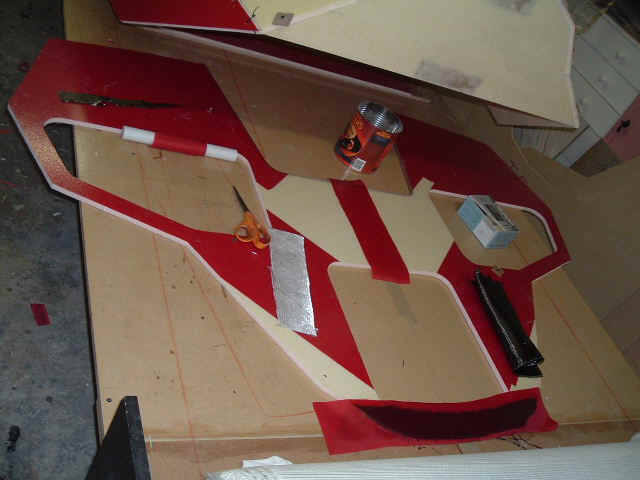
Also working in advance... Finishing the edges of the cockpit bulkhead:

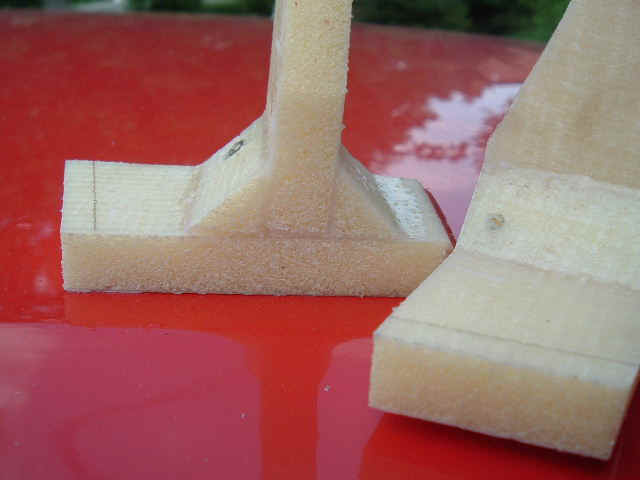
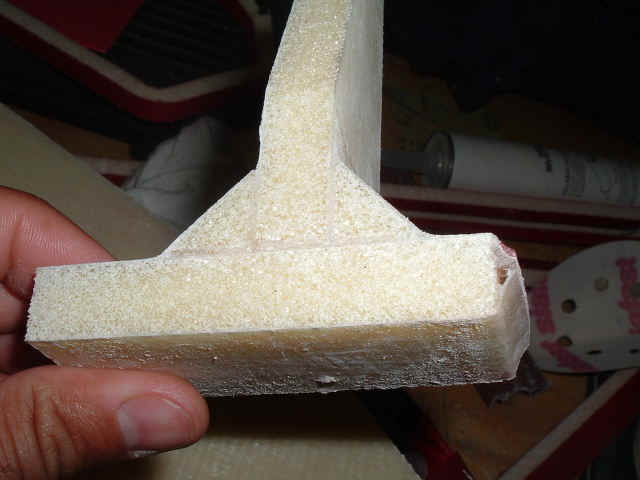
Making tests for bulkhead installation. I dont like Ray's method of "raking out" foam at the edges and filling with more putty. These triangular pieces made from foam panel scraps work fine to join parts at 90 deg. The joint is super light and stronger than the panels:
More work on the cockpit bulkhead. I added some carbon fiber at the lower end:
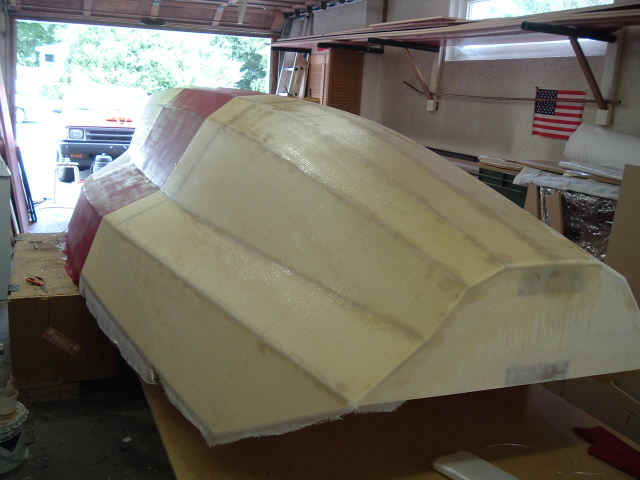
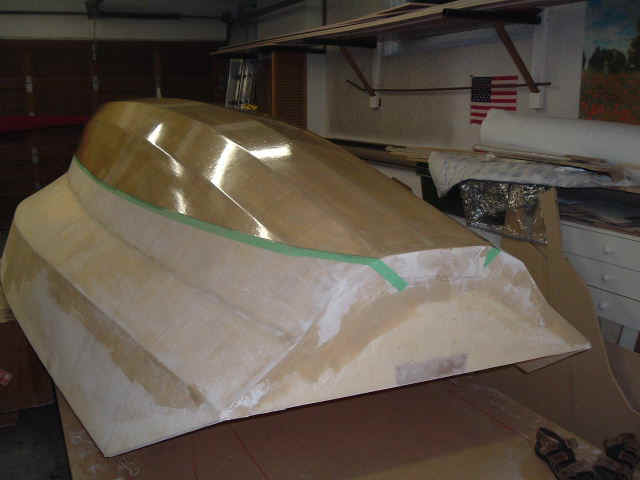
Getting ready to glass one half of the hull. The foam is already primed with epoxy so I applied the glass dry. A lot of putty was required to prepare the chines:
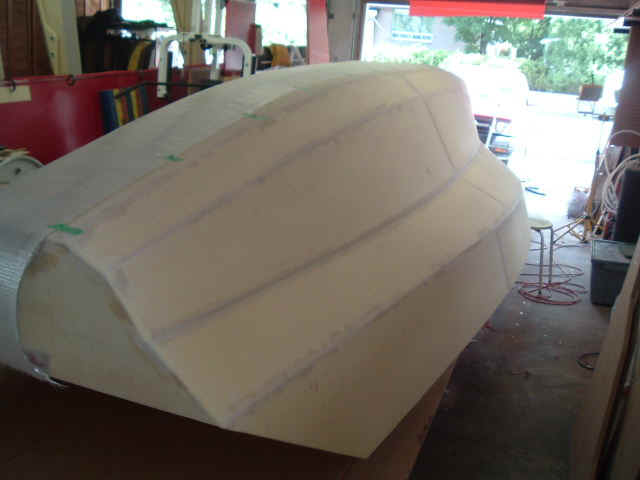
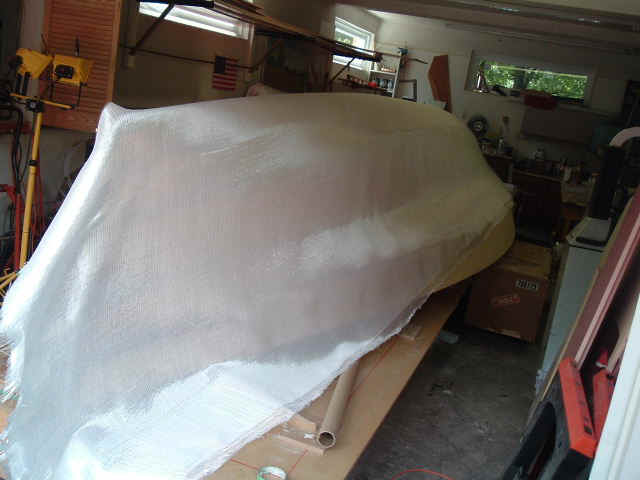
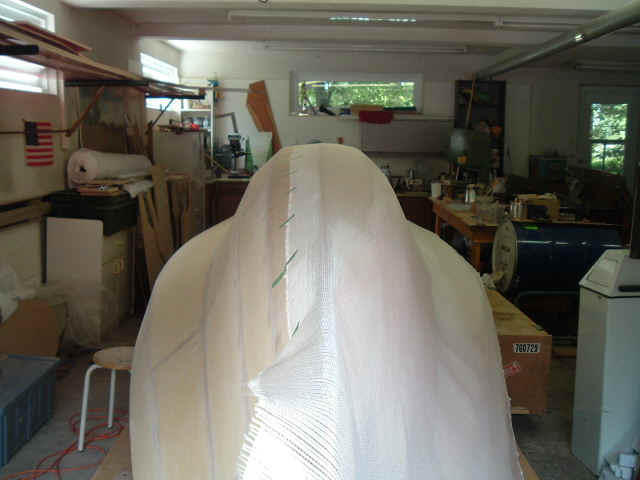
One side wetted with epoxy, with some peel ply applied. I am not sure that peel ply is a good idea here. It is alot of work and you are very tired at this point after having epoxied the glass...I think it would be faster just take a long break, wait for the epoxy to get tacky and then butter-up the whole hull side with fairing putty at this stage:
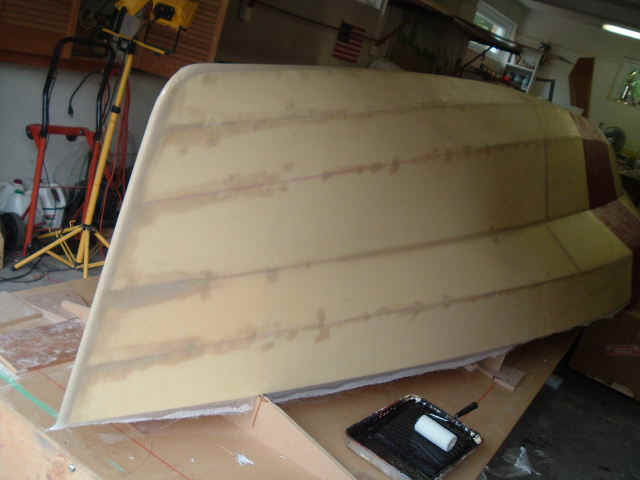
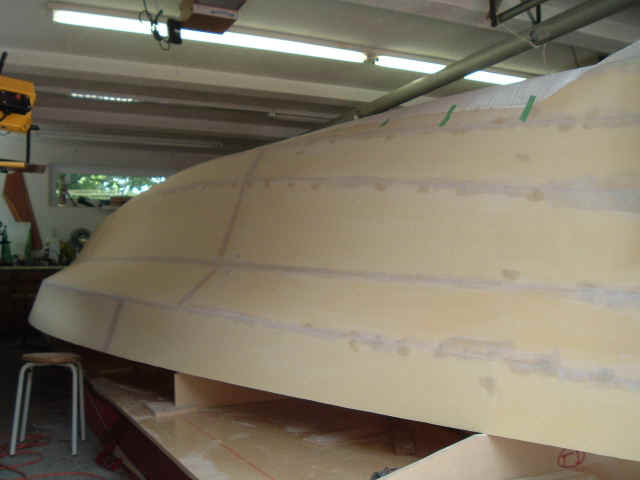
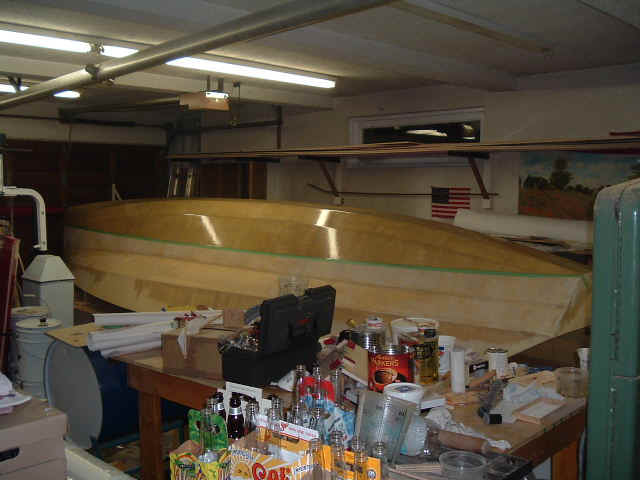
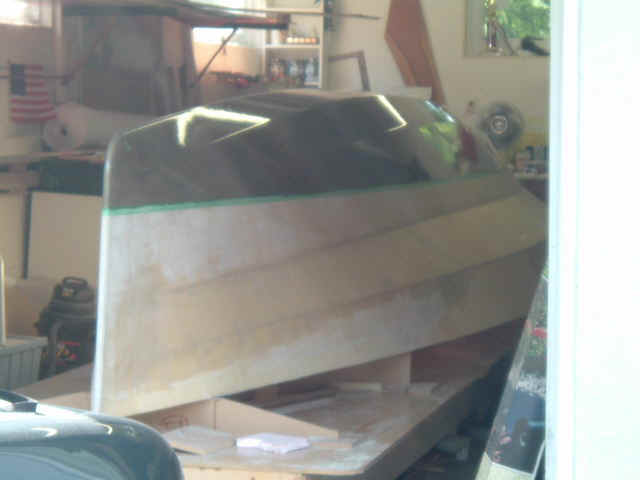
Fairing the glass laminate. Fortunately, little putty is required. I can "stretch" a batch a long way:

I used more putty at the transom to get a very sharp edge, for performance:
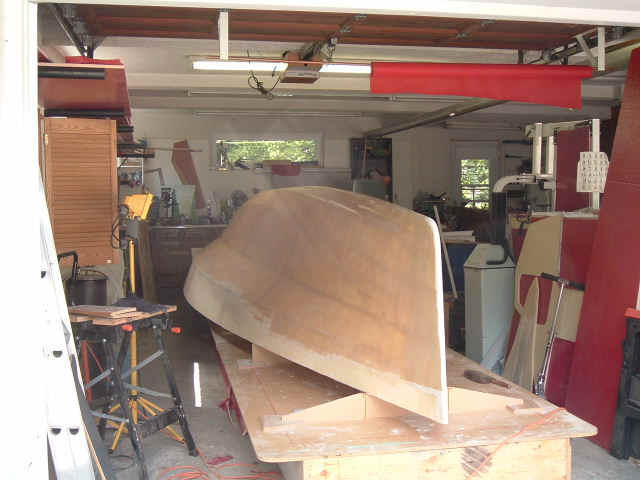
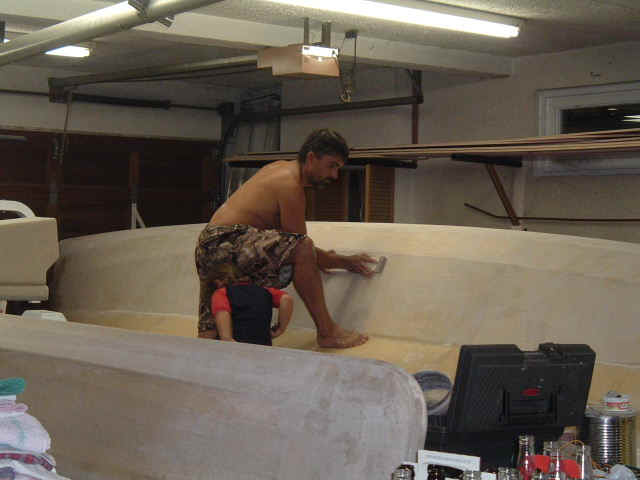
Sanding for a few hours... It is a good workout!:
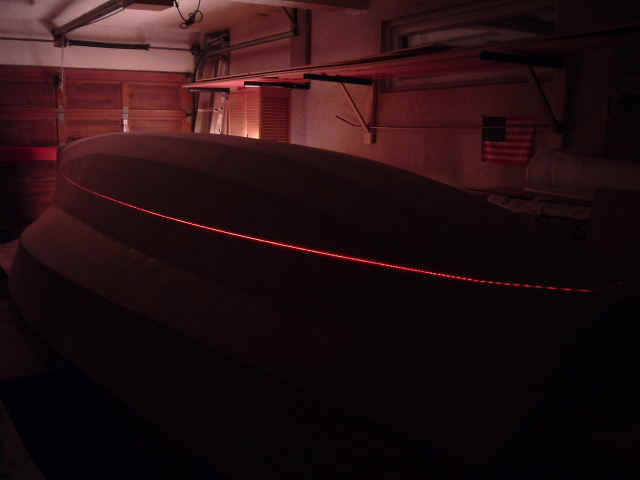
Tracing the waterline with a laser level. A lot of fun!:
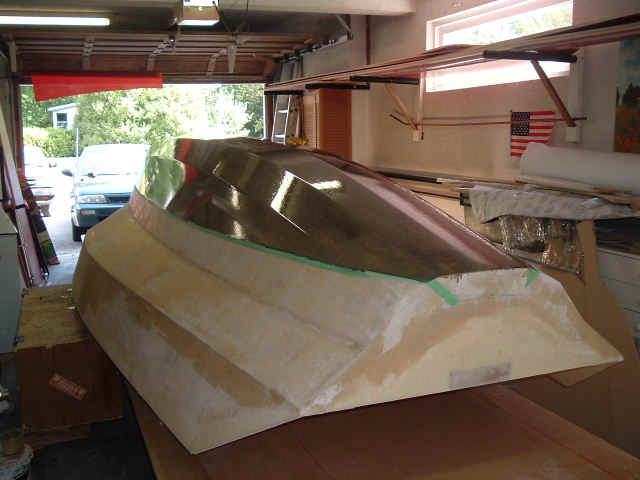
I am sealing the hull below the waterline with some epoxy. I want this surface to be resistant to water and wear from the beach and the trailer:

Some more epoxy on the hull bottom with some graphite powder to get a black base for anything I might want to put on later:
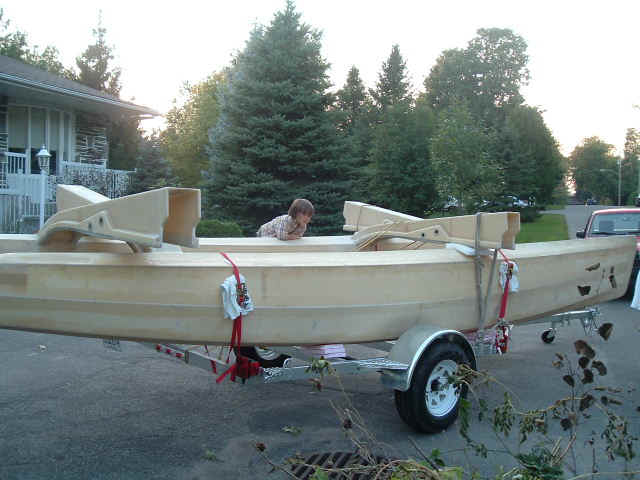
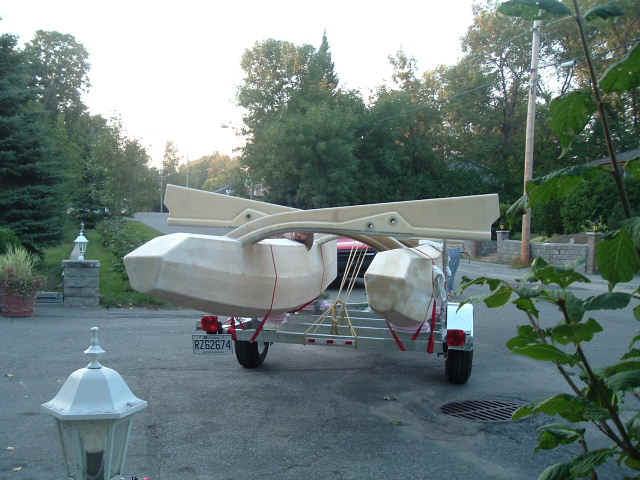
Two floats ready for a road trip:
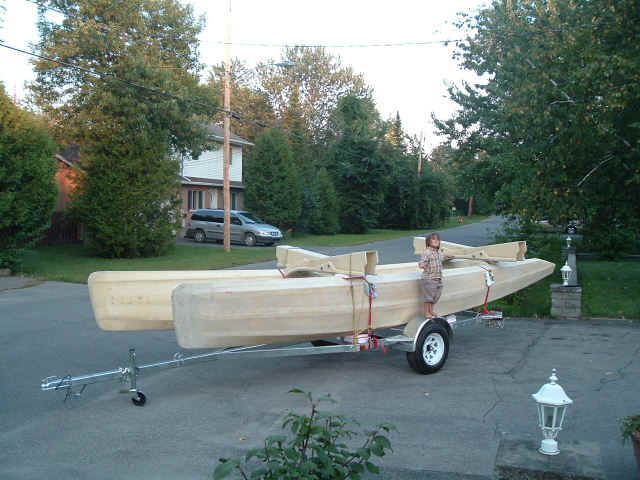
Dont use "pink" foam between the floats and the trailer as I did... A few bumps later and they are destroyed!: